[Centos7]mod_jk를 이용한 Apache 와 Tomcat 연동

아파치는 웹 서버(Web Server) 이고 톰캣은 웹 어플리케이션 서버(Web Application Server)이다. 사실 톰캣은 웹 서버의 기능과 웹 어플리케이션 서버의 기능 둘다 가능하다. 그러나 상대적으로 가벼운 정적인 데이터의 통신은 아파치가 담당하고 무거운 동적인 데이터는 톰캣이 담당하여 부하를 줄여줄 수 있으며 아파치에서는 톰캣에서 제공하지 않는 여러 모듈들을 제공해 사용자로 하게끔 더 많은 기능을 활용할 수 있게 한다.
보안적인 측면에서 보자면 리눅스 정책상 톰캣을 일반 유저로 구동 시 포트는 1024까지만 가능하여 톰캣을 80포트로 직접 사용할 수 없다. 물론 iptables나 friewalld의 PREROUTING를 사용하여 포트포워딩이 가능하긴 하다. 또한 아파치와 톰캣을 분리하여 설치함으로써 아파치는 DMZ단에 두고 톰캣과 DB는 내부망에 두어 아파치와 톰캣이 특정 포트로만 통신을 함으로써 외부에서는 톰캣에 직접적인 접근이 불가능하도록 서버 구성을 한다.
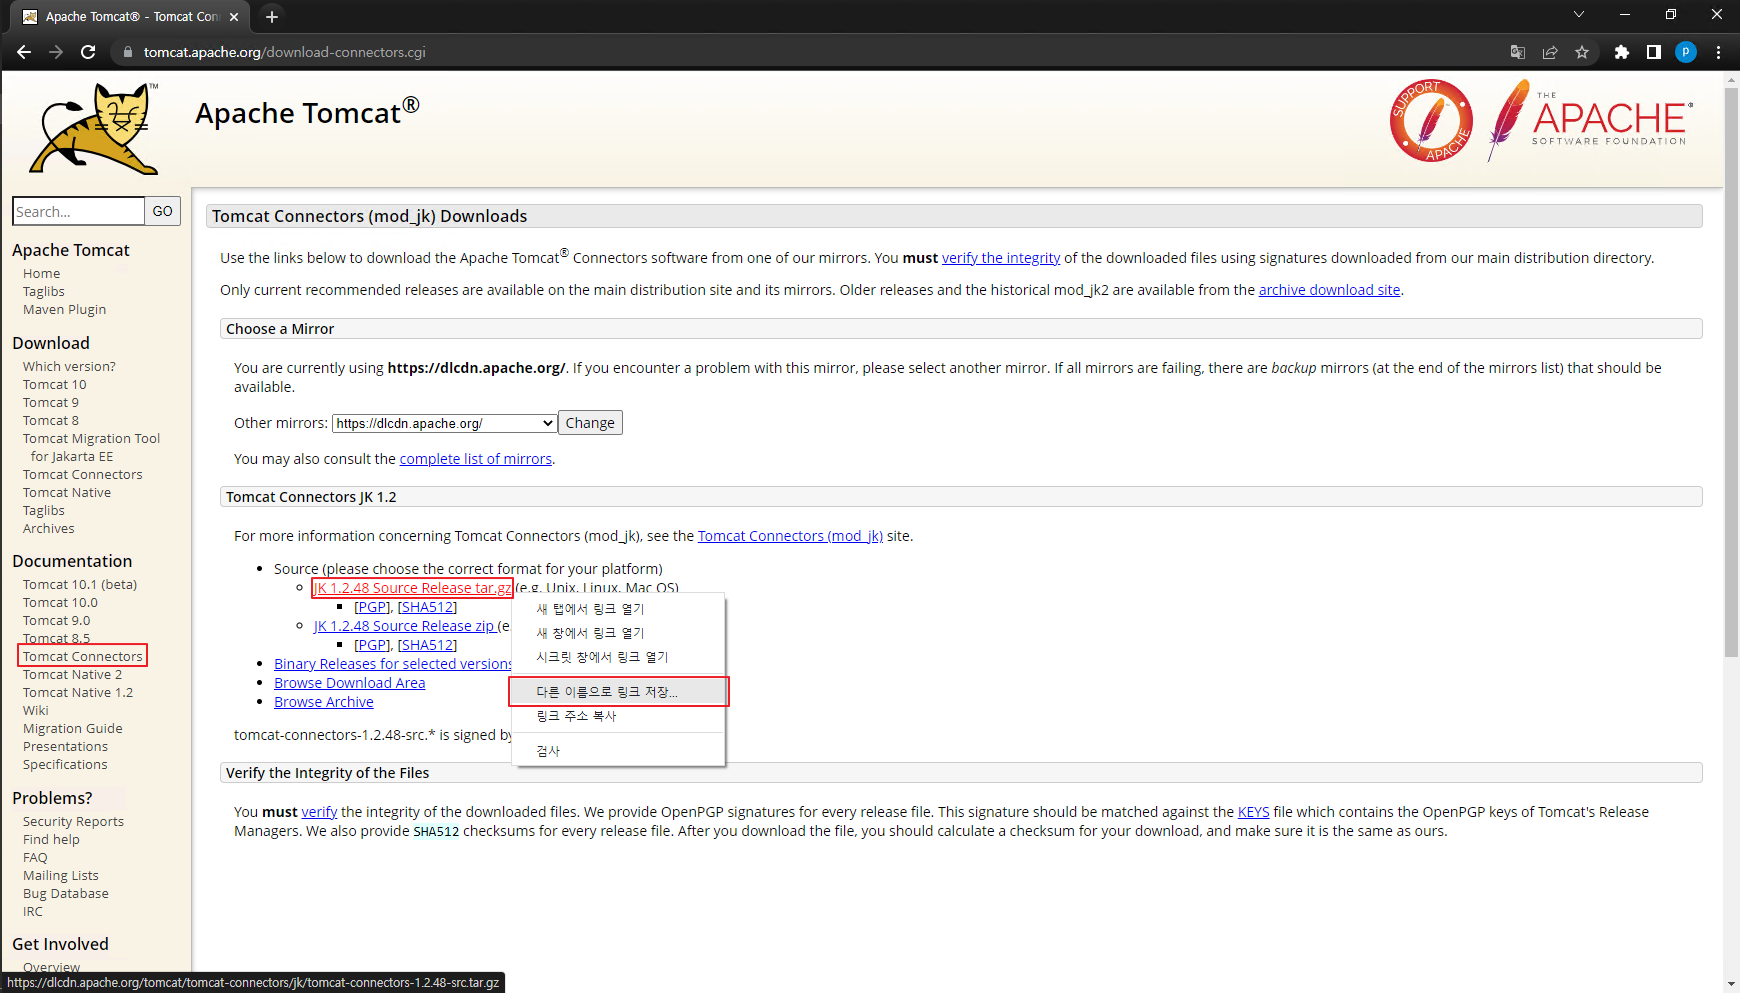
- Apache와 Tomcat을 연동하기 위한 톰캣 커넥터 다운로드
https://tomcat.apache.org/download-connectors.cgi
Apache Tomcat® - Tomcat Connectors (mod_jk) Downloads
You must verify the integrity of the downloaded files. We provide OpenPGP signatures for every release file. This signature should be matched against the KEYS file which contains the OpenPGP keys of Tomcat's Release Managers. We also provide SHA512 checksu
tomcat.apache.org
- Tomcat Connectors 빌드
# 커넥터 다운로드를 위한 톰캣 홈 디렉토리로 이동
$ cd /usr/share/tomcat10

# 복사한 URL로 커넥터 다운로드
$ wget https://dlcdn.apache.org/tomcat/tomcat-connectors/jk/tomcat-connectors-1.2.48-src.tar.gz

# 커넥터 압축 풀기
$ tar zxvf tomcat-connectors-1.2.48-src.tar.gz

# native 디렉토리로 이동
$ cd tomcat-connectors-1.2.48-src/native

# mod_jk를 빌드하기 위해 autoconf를 설치해야 한다고 오류가 발생한다.
$ ./buildconf.sh
buildconf: checking installation...
buildconf: autoconf not found.
           You need autoconf version 2.59 or newer installed
           to build mod_jk from version control.

# autoconf 확인
$ yum list autoconf

# autoconf 설치
$ yum -y install autoconf

# mod_jk를 빌드하기 위해 libtool을 설치해야 한다고 오류가 발생한다.
$ ./buildconf.sh
buildconf: checking installation...
buildconf: autoconf version 2.69 (ok)
buildconf: libtool not found.
           You need libtool version 1.4 or newer installed
           to build mod_jk from version control.


# libtool 확인
$ yum list libtool

# libtool 설치
$ yum -y install libtool

$ ./buildconf.sh
buildconf: checking installation...
buildconf: autoconf version 2.69 (ok)
buildconf: libtool  version 2.4.2 (ok)
buildconf: libtoolize --automake --copy
buildconf: aclocal
buildconf: autoheader
buildconf: automake -a --foreign --copy
buildconf: autoconf


# apxs를 찾을 수 없는 오류가 발생한다.
$ ./configure --with-apxs=/usr/bin/apxs
checking build system type... x86_64-pc-linux-gnu
checking host system type... x86_64-pc-linux-gnu
checking target system type... x86_64-pc-linux-gnu
checking for a BSD-compatible install... /bin/install -c
checking whether build environment is sane... yes
checking for a thread-safe mkdir -p... /bin/mkdir -p
checking for gawk... gawk
checking whether make sets $(MAKE)... yes
checking whether make supports nested variables... yes
checking for test... /bin/test
checking for grep... /bin/grep
checking for echo... /bin/echo
checking for sed... /bin/sed
checking for cp... /bin/cp
checking for mkdir... /bin/mkdir
need to check for Perl first, apxs depends on it...
checking for perl... /bin/perl
configure: error: Invalid location for apxs: '/usr/bin/apxs'


# apxs - APache eXtenSion 없는 경우 http-devel을 설치해야 한다.
$ yum -y install httpd-devel

$ ./configure --with-apxs=/usr/bin/apxs

$ make

$ make install
- mod_jk 모듈 연결
# 00-jk.conf 모듈 연결 파일 생성
$ cd /etc/httpd/conf.modules.d
$ vi 00-jk.conf

LoadModule jk_module modules/mod_jk.so
- mod_jk 모듈 설정
$ cd /etc/httpd/conf.d/
$ vi httpd-jk.conf

<IfModule jk_module>

    # We need a workers file exactly once
    # and in the global server
    JkWorkersFile conf.d/workers.properties

    JkLogStampFormat "[%a %b %d %H:%M:%S %Y] "
    # Our JK error log
    # You can (and should) use rotatelogs here
    JkLogFile logs/mod_jk.log

    # Our JK log level (trace,debug,info,warn,error)
    JkLogLevel info

    # Our JK shared memory file
    JkShmFile run/mod_jk.shm

    # If you want to put all mounts into an external file
    # that gets reloaded automatically after changes
    # (with a default latency of 1 minute),
    # you can define the name of the file here.
    JkMountFile conf.d/uriworkermap.properties

</IfModule>
- 톰캣 연결 설정
$ cd /etc/httpd/conf.d/
$ vi workers.properties

# 다중 톰캣 설정 시
#worker.list=instance1,instance2

#worker.instance1.port=8109
#worker.instance1.host=localhost
#worker.instance1.type=ajp13
#worker.instance1.lbfactor=1

#worker.instance2.port=8209
#worker.instance2.host=localhost
#worker.instance2.type=ajp13
#worker.instance2.lbfactor=1

worker.list=playground

worker.playground.port=8009
worker.playground.host=localhost
worker.playground.type=ajp13
# uri 연결파일
$ cd /etc/httpd/conf.d
$ vi uriworkermap.properties
/*=playground
- 톰캣 설정
# 톰캣 홈의 conf 디렉토리로 이동
$ cd /usr/share/tomcat10/conf

$ vi server.xml

# AJP 프로토콜 속성을 가지고 있는 <connctor> 태그의 secretRequired 값을 false로 설정
<Connector protocol="AJP/1.3" address="::1"  port="8009"  redirectPort="8443"  secretRequired="false"
# 서비스 재시작
$ service restart tomcat
$ service restart httpd
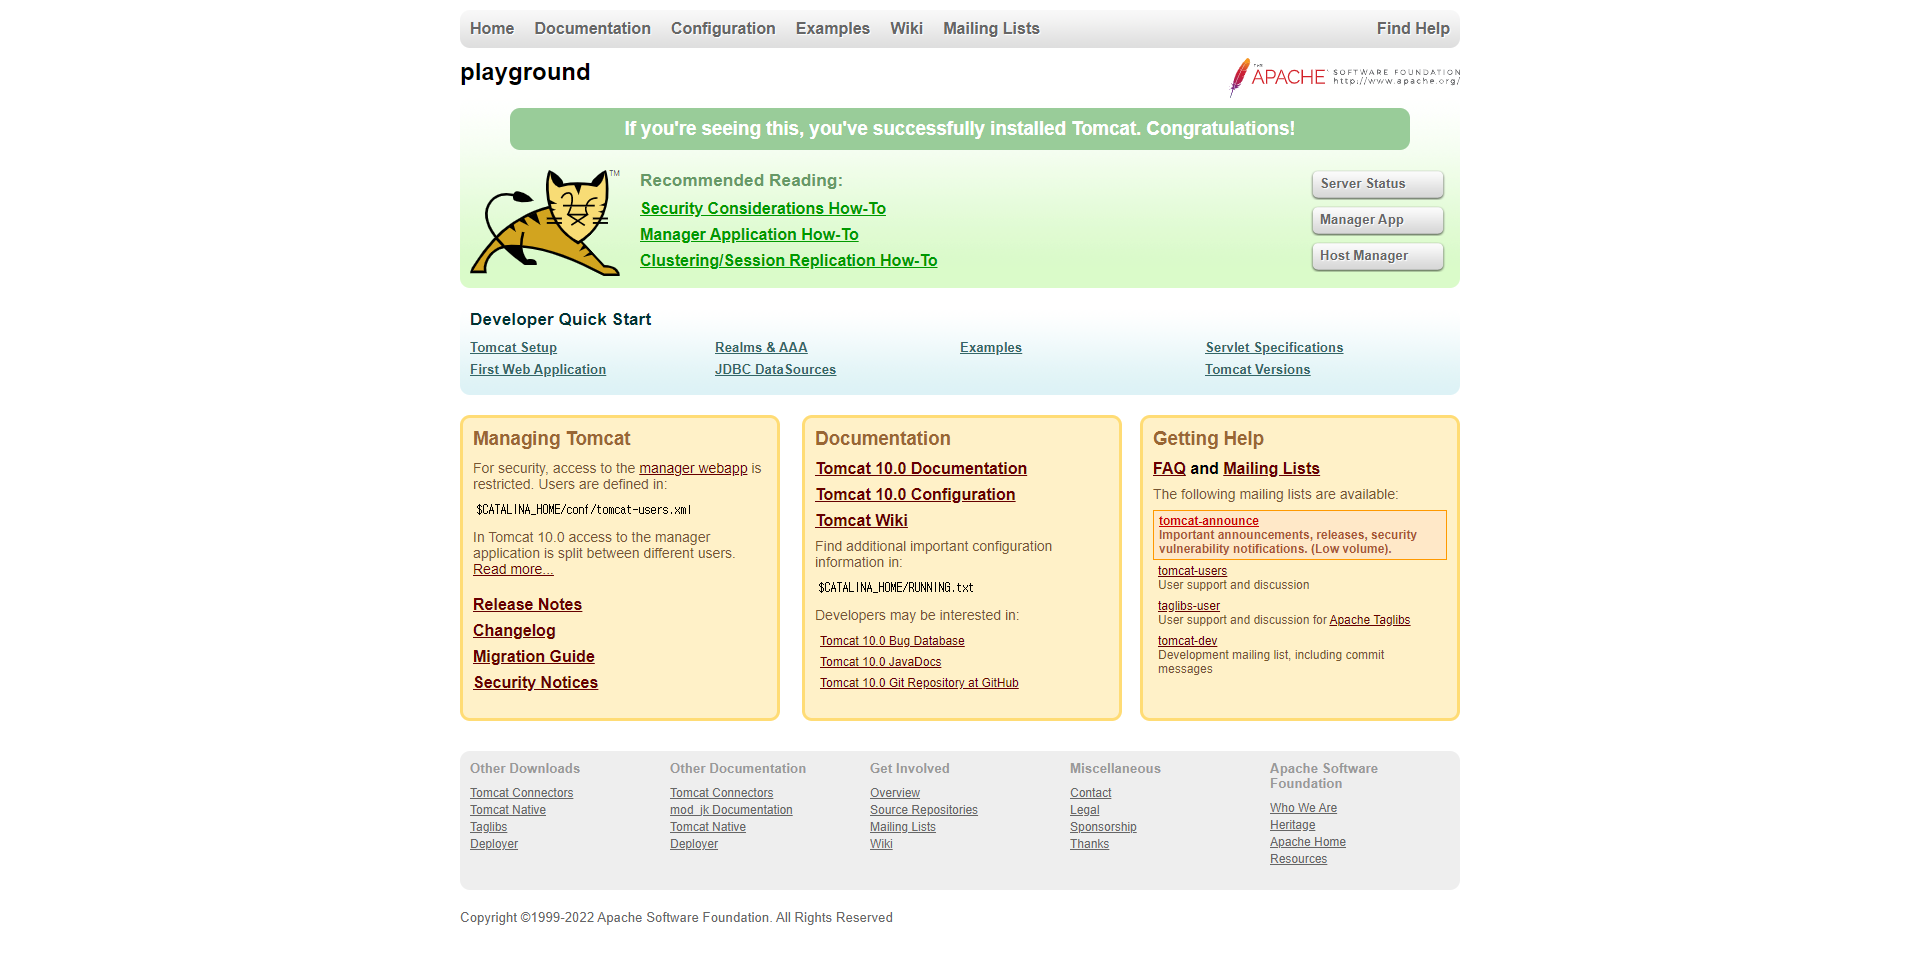
Apache 서버에 연결 시 톰캣 로고가 보이면 정상적으로 연동이 된 것이다.
'OS & Server > Linux' 카테고리의 다른 글
| [Centos7] Apache SSL 설정 (0) | 2022.07.19 |
|---|---|
| [Apache Tomcat] 톰캣 일자별 로그 나누기 (0) | 2022.07.19 |
| [Apache Tomcat] 오류 발생 시 버전 노출 방지 (0) | 2022.07.18 |
| [Apache Tomcat] 응답 헤더의 서버 정보 노출 방지 (0) | 2022.07.18 |
| [Centos7] root 계정이 아닌 일반 계정으로 Apache Tomcat 실행하기 (0) | 2022.07.15 |


댓글